For years, I assumed all-grain brewing required a three-vessel system: a hot liquor tank, a mash tun with a false bottom, and a brew kettle — plus pumps, hoses, and a setup that looked like a small chemical plant. The homebrew forums reinforced this impression. "You need a proper mash tun," people said. "Build a three-tier gravity system," they said. "All-grain is an investment."
Then an Australian homebrewer told me about brew in a bag. One kettle. One grain bag. Same all-grain beer. I was skeptical — surely skipping the dedicated mash tun and sparge would produce inferior beer? It didn't. My first BIAB batch was a pale ale that tasted better than anything I'd made with extract. The simplicity wasn't a compromise. It was a feature.
If you've been brewing with extract and want to make the jump to all-grain, BIAB is the bridge. No new equipment purchases (assuming you have a large enough kettle), no plumbing projects, no engineering degree required. Here's the complete guide. For the full picture of what all-grain brewing involves, our all-grain brewing guide covers traditional methods alongside BIAB. And if you're still doing extract brewing, our extract guide is a solid foundation before making the jump.
What BIAB Is (And Why It Works)
Traditional all-grain brewing separates the mash and boil into different vessels. You heat water in one vessel (hot liquor tank), transfer it to a second vessel with a grain bed and false bottom (mash tun) to convert starches to sugars, drain the sweet liquid (wort) out through the false bottom, rinse the grain with more hot water (sparging), and collect the wort in a third vessel (brew kettle) for the boil.
BIAB does the same biochemistry in one kettle. You heat all your water in the brew kettle, add the grain inside a large mesh bag, mash for 60 minutes in that same kettle, then lift the bag out (taking the grain with it). The sweet wort stays in the kettle. You bring it to a boil and proceed exactly like any other brew day. Same starch conversion, same enzymes, same beer — just fewer vessels, fewer transfers, fewer things to clean.
The method originated in Australia in the early 2000s and has since become the most popular entry point into all-grain brewing worldwide. Competitions regularly see BIAB beers win medals against traditionally brewed entries. The beer doesn't care how the grain got separated from the wort.
Equipment You Need
This is the beauty of BIAB: the equipment list is embarrassingly short.
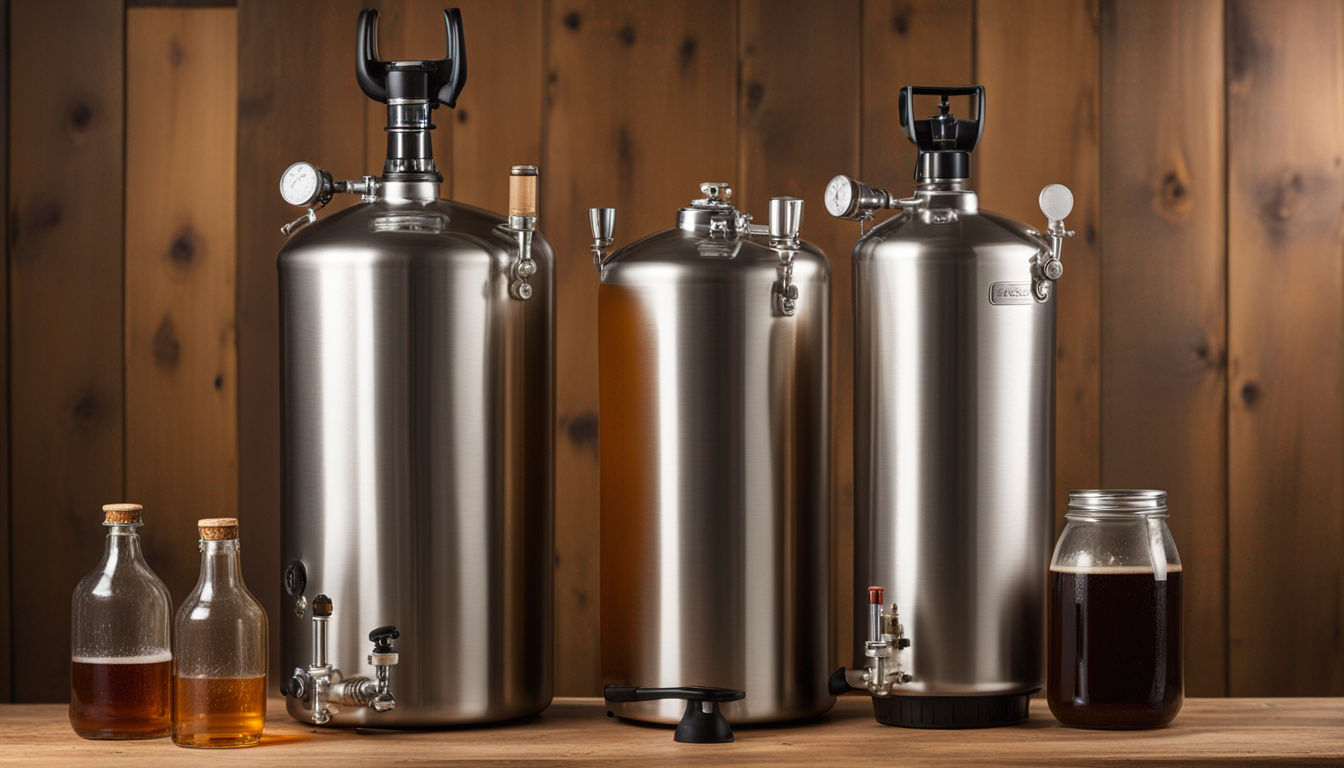
Large Brew Kettle (10+ Gallons)
BIAB requires all of your brewing water in a single vessel at once — no separate sparge water. For a standard 5-gallon batch, you'll need about 8-9 gallons of water in the kettle (accounting for grain absorption and boil-off). A 10-gallon kettle works, but a 15-gallon kettle gives you comfortable headroom to avoid boilovers.
The Bayou Classic 1064 16-gallon stainless kettle ($90-110) is the community standard for BIAB. It's big enough for full-volume mashes, thick enough to hold heat, and cheap enough that you won't panic if you ding it. If you already have a 10-gallon kettle, you can do BIAB with a slight adjustment — do a "dunk sparge" by heating extra water in a separate pot and pouring it through the grain bag after lifting. Not as simple as single-vessel, but still simpler than a traditional three-tier setup.
Brew Bag
You need a large, fine-mesh nylon or polyester bag that fits your kettle. A purpose-built BIAB bag from The Brew Bag ($30-35) is the gold standard — custom-sized to your kettle, double-stitched seams, and fine enough mesh to contain grain particles while draining freely. Voile fabric bags from craft stores work in a pinch ($10-15 for fabric, sew it yourself), but they snag more easily and the mesh isn't as consistently fine.
Don't cheap out on the bag. A $30 bag that lasts 100+ batches is one of the best per-use-cost investments in homebrewing. A cheap bag that rips on batch three dumps grain into your wort and ruins your afternoon.
Thermometer
A decent instant-read digital thermometer ($15-20) to monitor mash temperature. The ThermoWorks ThermoPop ($14) is accurate, fast, and water-resistant. You need to know your mash temperature within 2 degrees Fahrenheit — too hot (above 158F) produces a thick, sweet, under-attenuated beer. Too cool (below 148F) produces a thin, dry beer. More on optimal temperatures below.
Heat Source
You need enough BTUs to heat 8+ gallons of water to mash temperature (148-158F) and then bring it to a rolling boil. Most kitchen stovetops struggle with this volume. A propane burner like the Bayou Classic SP10 ($50) or the Dark Star 2.0 ($70) makes outdoor BIAB practical and fast. Indoor BIAB is possible on a powerful gas stove, but electric stoves generally can't deliver enough heat for full-volume boils.
That's Basically It
You also need the same gear any brewer needs: fermenter, airlock, hydrometer, sanitizer, bottling or kegging equipment. But the BIAB-specific equipment is just the kettle, the bag, and the thermometer. If you already own a large kettle, you're $50 away from all-grain brewing. Compare that to the $200-400 a traditional mash tun setup costs.
The Step-by-Step BIAB Process
Here's a complete BIAB brew day from start to finish. I'll use a 5-gallon batch as the example. Use our brewing calculators to dial in the numbers for your specific recipe.
Step 1: Calculate Your Water Volume
You need enough water to account for grain absorption (about 0.12 gallons per pound of grain), boil-off (about 1-1.5 gallons per hour, depending on your setup), and your target batch size (5 gallons into the fermenter).
For a typical recipe using 10 lbs of grain with a 60-minute boil:
- Target volume in fermenter: 5.25 gallons (accounting for trub loss)
- Boil-off: 1.25 gallons (60-minute boil)
- Grain absorption: 1.2 gallons (10 lbs × 0.12 gal/lb)
- Total water needed: 7.7 gallons
Round up to 8 gallons. Too much water is easily corrected by boiling longer. Too little water means you're scrambling.
Step 2: Heat the Water
Fill your kettle with 8 gallons of water (treated with half a crushed Campden tablet if using tap water). Heat to your "strike temperature" — about 8-12 degrees above your target mash temperature. The grain will absorb heat and drop the temperature when you add it.
For a target mash temperature of 152F, heat your water to 160-164F. The exact strike temperature depends on the grain-to-water ratio and the grain temperature — a strike water calculator makes this precise, or you can overshoot slightly and stir until it stabilizes. Having the temperature a few degrees high and cooling is easier than having it too low and trying to add heat through a bag of grain.
Step 3: Add the Bag and Grain (Mash In)
Turn off the burner (critical — you don't want the bag touching a hot surface and melting). Line the kettle with the brew bag, draping the excess over the rim. Slowly pour the milled grain into the bag, stirring as you add to prevent clumps. "Dough balls" — pockets of dry grain — won't convert their starch, wasting potential sugar. Stir thoroughly until every grain particle is wet and the mash is uniform.
Check your temperature. If it's within 2 degrees of your target, you're good. If it's too high, stir and wait — it'll drop. If it's too low, apply brief heat to the kettle (burner on low, stirring constantly to prevent the bag from touching hot spots).
Step 4: Mash for 60 Minutes
Cover the kettle with a lid to retain heat. Check the temperature every 15-20 minutes. A well-insulated kettle wrapped in a sleeping bag or moving blankets will lose only 2-5 degrees over 60 minutes — acceptable. If the temperature drops more than 5 degrees, apply brief, gentle heat (burner on low, stir constantly).
Mash temperature guide:
- 148-150F: More fermentable wort. Drier, lighter-bodied beer. Good for IPAs, session beers, and styles where you want a crisp finish.
- 152-154F: Balanced fermentability. Medium body. Good for most styles — pale ales, ambers, browns, stouts.
- 156-158F: Less fermentable wort. Sweeter, fuller-bodied beer. Good for Scotch ales, barleywines, and big malty styles.
When in doubt, aim for 152F. It's the universal mash temperature that produces a balanced beer for nearly any style.
Step 5: Mash Out (Optional but Recommended)
After 60 minutes, raise the mash temperature to 168-170F. This "mash out" step denatures the enzymes (stopping conversion) and makes the wort less viscous, which improves drainage when you lift the bag. Heat the kettle gently with the grain bag still in, stirring to distribute heat evenly. Hold at 168-170F for 5-10 minutes.
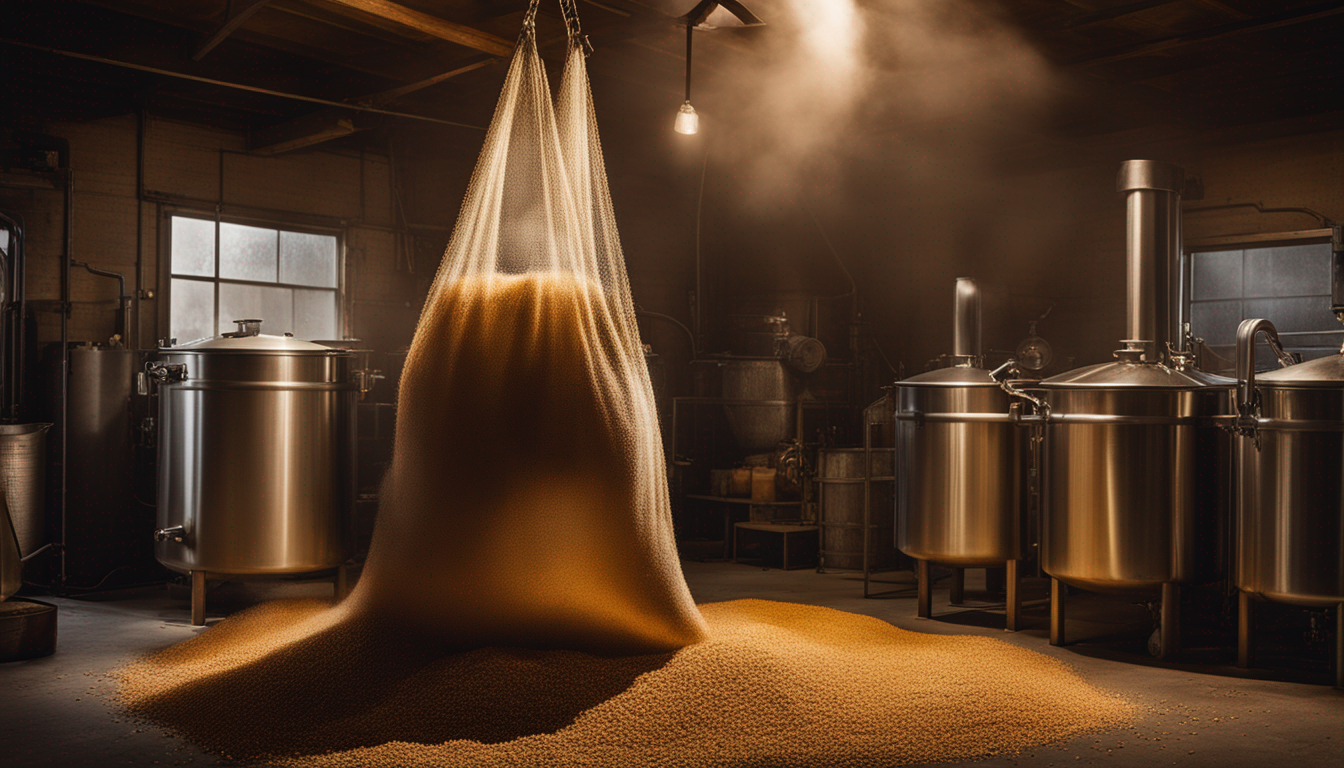
Step 6: Lift the Bag
This is the physical challenge of BIAB. A fully saturated bag of 10-12 lbs of grain weighs 20-25 lbs. You have three options:
- Muscle it: Grab the bag with heat-resistant gloves, lift it out, and hold it over the kettle to drain. This works for recipes with 10 lbs or less of grain, and it's what most homebrewers do for their first few BIAB batches.
- Pulley system: Mount a pulley above your brew area (ceiling hook in a garage works perfectly) and use it to hoist the bag. This is the elegant solution — lift, tie off, let it drain while you start heating for the boil.
- Colander method: Place a large colander or cooling rack across the top of the kettle and rest the bag on it to drain. Low-tech, works great.
Let the bag drain for 5-10 minutes. And yes — squeeze the bag.
Step 7: Squeeze the Bag (Ignore the Old Advice)
Homebrewing lore says squeezing the grain bag extracts tannins. This has been thoroughly debunked. Tannin extraction depends on pH and temperature, not pressure. Squeezing the bag extracts additional sugar-rich wort and improves your efficiency by 5-10 percentage points. Wear heat-resistant gloves (the bag is hot), place the bag on a cooling rack over a pot or the kettle, and press firmly. The liquid that comes out is sugar-rich wort, not tannic death juice. Add it back to the kettle.
Step 8: Boil, Hop, Chill, Pitch
From here, BIAB is identical to any other brew day. Bring the wort to a rolling boil (60-90 minutes, depending on your recipe). Add hops at the scheduled times. Cool the wort to pitching temperature with an immersion chiller or ice bath. Transfer to your fermenter, pitch your yeast, and ferment as normal.
Tips for Better BIAB Efficiency
BIAB typically achieves 65-75% mash efficiency versus 75-85% for a traditional system. The difference is the lack of sparging — traditional systems rinse the grain bed with additional hot water, extracting more sugar. Here's how to close the gap:
Get a fine crush. Mill your grain finer than you would for a traditional mash tun. A mash tun with a false bottom needs coarser grain to prevent a stuck sparge. BIAB has no false bottom — the bag does the filtering. A finer crush exposes more starch to the enzymes, improving conversion and efficiency. If your homebrew shop mills for you, ask them to tighten the gap one notch from their standard setting. If you own a mill, target a gap of 0.025-0.030 inches.
Squeeze the bag (as above). Easy 5-10% efficiency gain with zero downside.
Do a mash out. Raising to 168-170F before lifting reduces wort viscosity and improves drainage. Worth the extra 10 minutes.
Consider a dunk sparge. After lifting the grain bag, heat 1-2 gallons of water to 170F in a separate pot. Dunk the grain bag into this water, stir for 2-3 minutes, lift, drain, and add the sparge water to the kettle. This mimics traditional sparging and can boost efficiency by 5-8%. It adds one extra vessel and 10 minutes of time, but for high-gravity recipes where every point of sugar matters, it's worthwhile.
BIAB vs. Traditional All-Grain
BIAB Advantages
- Minimal equipment investment ($30-50 beyond what you already own)
- Faster brew day (no sparge = 30-45 minutes saved)
- Less cleanup (one kettle, one bag vs. three vessels and hoses)
- Smaller footprint (apartment-friendly if you can brew outside or have a powerful stove)
- Same beer quality — competition results prove this consistently
Traditional All-Grain Advantages
- Higher efficiency (75-85% vs. 65-75%), meaning you use slightly less grain per batch
- Easier to manage very large grain bills (15+ lbs) without a heavy-lift challenge
- Better temperature consistency during the mash (insulated cooler mash tuns hold temp beautifully)
- More flexibility for advanced techniques like decoction mashing and step mashing
For most homebrewers brewing 5-gallon batches of standard-gravity beer, BIAB produces equivalent results with less hassle. The efficiency difference means you use about 10-15% more grain per batch — roughly $1-2 more per brew in ingredient cost. Negligible.
Your First BIAB Recipe: American Pale Ale
This recipe is designed for BIAB at 70% mash efficiency. It produces a clean, balanced pale ale that showcases the all-grain difference you'll taste immediately.
Batch size: 5 gallons
Target OG: 1.052
Target FG: 1.010-1.012
ABV: ~5.3%
IBU: ~40
SRM: ~6 (gold)
Grain Bill
- 9.5 lbs American 2-Row pale malt (Briess or Rahr) — the base
- 1 lb Crystal 40L — adds body, light caramel sweetness
- 0.5 lb Munich malt — adds depth and bready character
Hops
- 0.75 oz Centennial (10% AA) at 60 minutes — bittering, ~30 IBU
- 0.5 oz Cascade (5.5% AA) at 15 minutes — flavor, ~6 IBU
- 1 oz Cascade at 5 minutes — aroma
- 1 oz Cascade at flameout (steep 10 minutes before chilling) — intense citrus and floral aroma
Yeast
Safale US-05 ($4) or Wyeast 1056 ($8). Clean American ale yeast. One packet is sufficient for this gravity. Ferment at 64-66F for the cleanest profile.
Process
- Heat 8 gallons of Campden-treated water to 162F
- Add grain bag and grain, stir thoroughly. Target mash temp: 152F
- Mash 60 minutes, checking temperature every 15 minutes
- Mash out at 168F for 10 minutes
- Lift bag, drain, squeeze
- Bring to a rolling boil. Add hops per schedule
- Add 1 Whirlfloc tablet at 10 minutes remaining (optional, for clarity)
- Chill to 66F. Transfer to fermenter. Pitch yeast
- Ferment at 64-66F for 10-14 days
- Package (bottle or keg) and enjoy
This pale ale will be the beer that shows you what all-grain tastes like. The difference from extract is immediately noticeable — a fresher, grainier, more complex malt character that extract simply can't replicate. It's the beer that hooks people on all-grain brewing, and BIAB is the easiest way to get there.
Once you've brewed this recipe, you have the technique for any all-grain beer. Change the grain bill, change the hops, change the yeast — the BIAB process stays the same. Browse our homebrewing hub for more recipes and technique guides as you explore what all-grain makes possible.