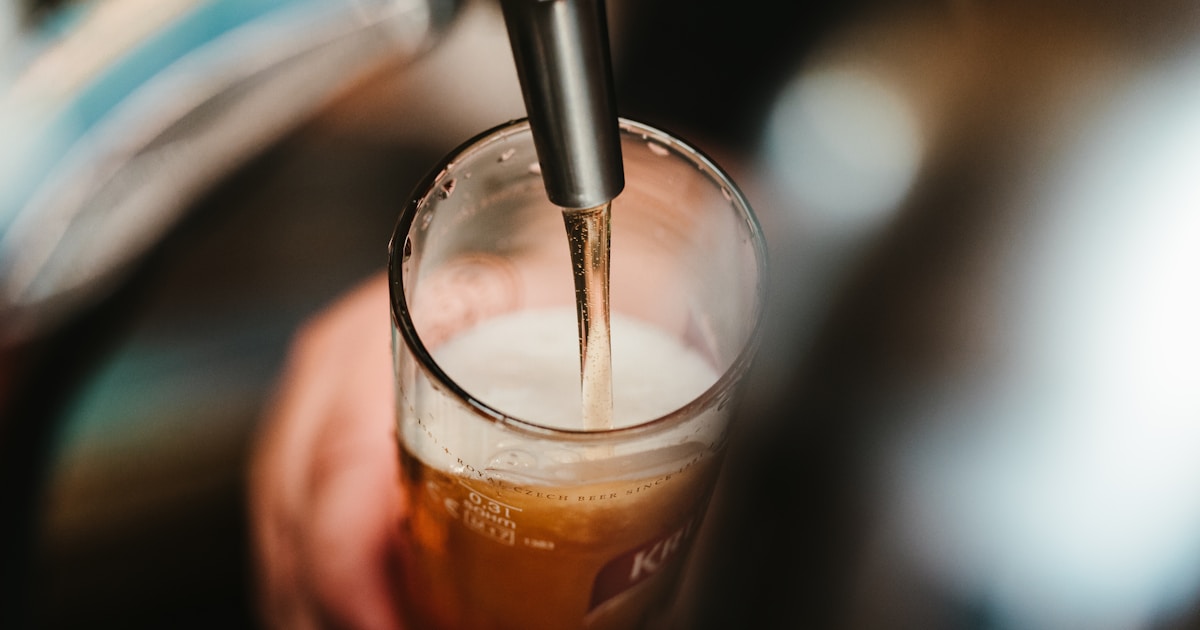
Kit and kilo brewing (K&K) is by far the fastest, most forgiving way to make beer at home. You combine a purchased kit tin with a kilo of fermentable sugar, top up with water, pitch yeast, and wait. It gives up some of the flexibility of extract or all-grain brewing, but with the sheer range of quality kits available today, there's no shortage of styles to make — and a well-handled kit beats a badly-handled all-grain batch every time.
This guide is part of our Homebrewing Hub — your complete resource for brewing at home.
Like cooking, brewing rewards good ingredients. The cheapest kit usually means the cheapest ingredients, so spend a little more on the tin and — more importantly — on what you add to it. Two small upgrades separate a thin, cidery first batch from something you're proud to hand a friend.
What a "kit" actually is
A kit tin is a large can of pre-hopped malt extract — a super-sticky concentrated wort, already flavored with hops for bitterness. It saves you from mashing grain and from a long hop boil. Under the lid you'll almost always find a sachet of dried yeast and a set of instructions. Do your best to ignore those instructions: they're often written for impatient people who want beer in three days, and rushing is the surest route to a mediocre result.
The two upgrades that matter most
- Don't use plain white sugar for the whole kilo. Straight table sugar (sucrose) ferments bone-dry and thin and can leave a cidery twang — the single most common K&K mistake. Replace some or all of it with dry malt extract (DME), dextrose, or a "brew enhancer" blend. DME especially adds body, malt flavor, and better head retention.
- Swap the kit yeast. The under-lid sachet is generic and often old. A fresh, style-appropriate strain transforms the beer — try Fermentis Safale US-05 for clean ales or Saflager S-23 for lagers.
What you'll need
- 25L fermenter with airlock
- 20L (or bigger) pot
- Long-handled food-grade spoon or paddle
- 1.7kg kit tin + yeast
- 1–1.5kg fermentable sugar (ideally DME or a mix, not all white sugar)
- A hydrometer
- Water
The brew, step by step
- Clean and sanitize your fermenter and everything the wort will touch — this is the step that prevents most infections.
- Stand the unopened kit tin (yeast removed first) in hot water for a few minutes so the sticky contents pour easily.
- Half-fill your pot with water and put it on high heat.
- Before it boils, stir in 1–1.5kg of your chosen fermentable until fully dissolved.
- Add the kit tin contents and stir until dissolved.
- As it reaches a boil, take it off the heat, cover with a sanitized lid, and cool it in an ice-water bath.
- Once near room temperature (15–20 minutes), pour the wort into the fermenter.
- Top up with water to about 20–23L total — more water means lower ABV.
- Sprinkle in the yeast (your upgraded strain, ideally).
- Seal the fermenter and fit the airlock.
- Take and write down a starting gravity (SG) reading with your hydrometer — you'll need it later to calculate ABV.
- Store it somewhere with a stable temperature: 18–22°C for ale yeast, 8–12°C for lager. Ferment ales at least two weeks; lagers up to eight.
Patience, then packaging
Resist the urge to rush. Give ales a full two weeks even if the airlock stops bubbling after five days — that extra time lets the yeast clean up harsh compounds and drop clear. When the gravity reads the same three days running, fermentation is done; the difference between your SG and final gravity tells you the ABV. From there it's into bottles or a keg for carbonating and conditioning. Want to dry-hop a pale ale kit for a fresh, aromatic upgrade? Toss a handful of pellet hops into the fermenter for the last few days — the easiest way to make a kit taste craft.
Once you've nailed K&K, the natural next step up in flavor and control is extract brewing.
Keep Reading
More from the Homebrewing Hub: