Your first homebrew should taste good enough to share. Not "good for a first batch" — actually good. The three recipes below are engineered to do exactly that, each one teaching a different skill while producing a beer you'd happily pour for friends.
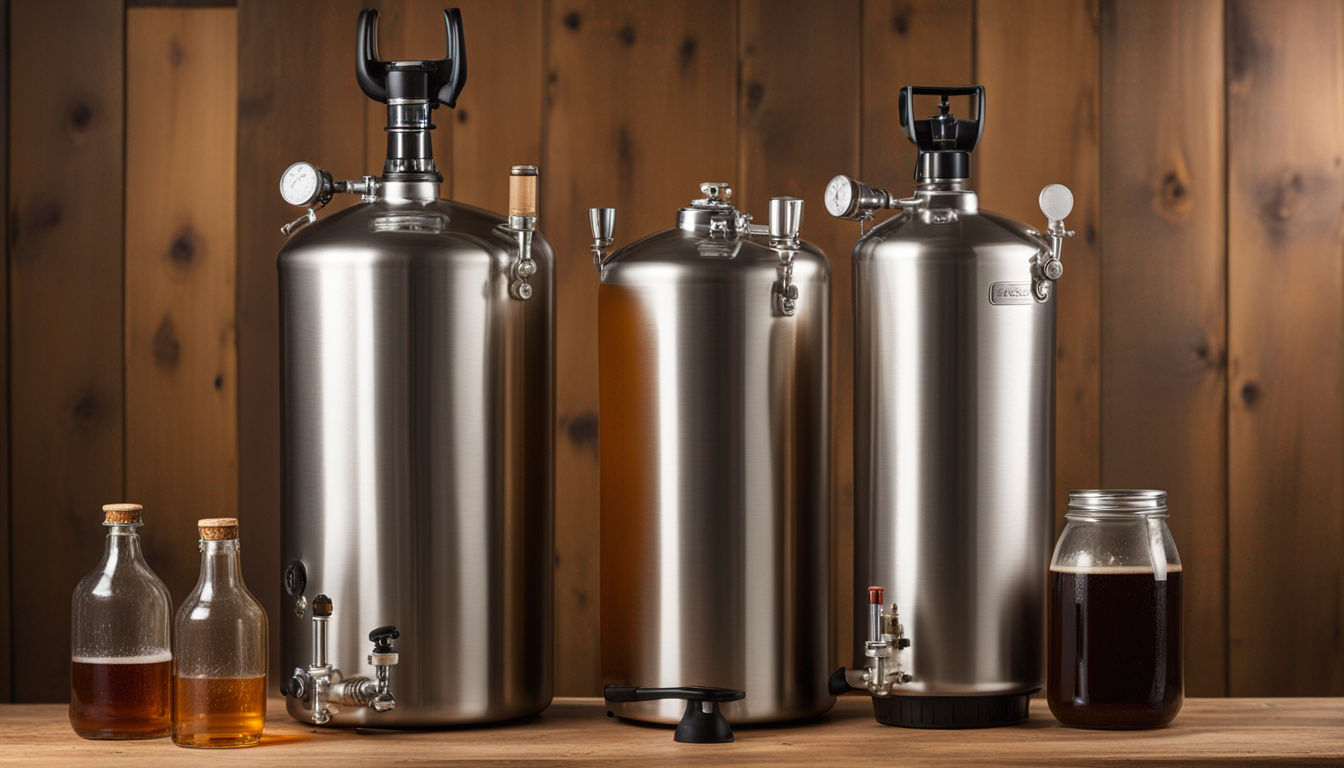
I've brewed over 200 batches across ten years, and I keep coming back to variations of these three styles when someone asks me where to start. They're forgiving, they teach fundamentals, and they taste like beer — not science experiments. If you haven't dialed in your setup yet, check our equipment guide first. Already got gear? Let's brew.
The Quick Version
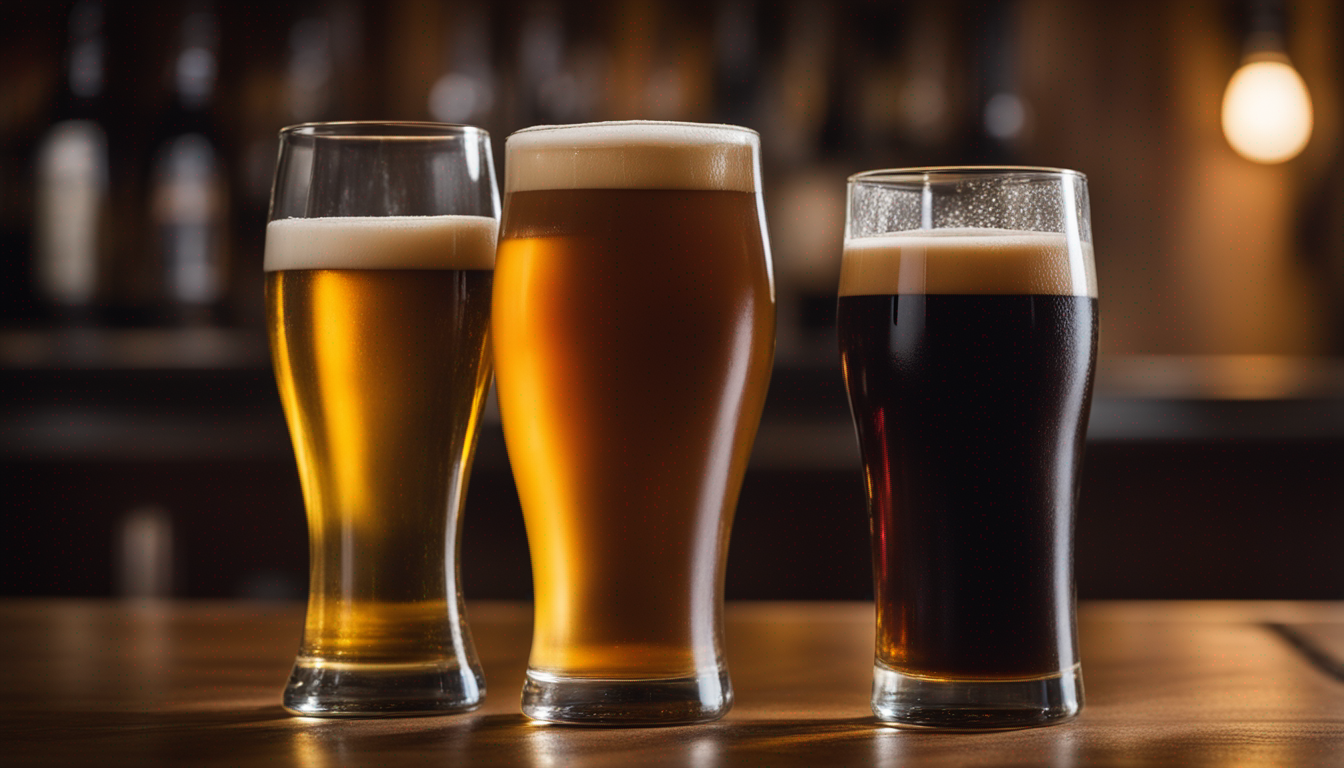
- Recipe 1: American Wheat Ale — Easiest beer you can brew. Extract-based, light, refreshing, ready in 3 weeks. Nearly impossible to mess up.
- Recipe 2: English Bitter (ESB) — Introduces hop timing and partial mash technique. Classic pub beer, balanced and sessionable.
- Recipe 3: Chocolate Milk Stout — Teaches specialty grain steeping and lactose additions. Crowd-pleaser that looks and tastes impressive.
All three are extract-based (or partial mash), produce 5-gallon batches, and require nothing beyond standard beginner equipment. If you need a full walkthrough of the brewing process itself, read our beginner brewing guide — these recipes assume you understand the basic steps of brew day.
Before You Start: Three Rules for Every Batch
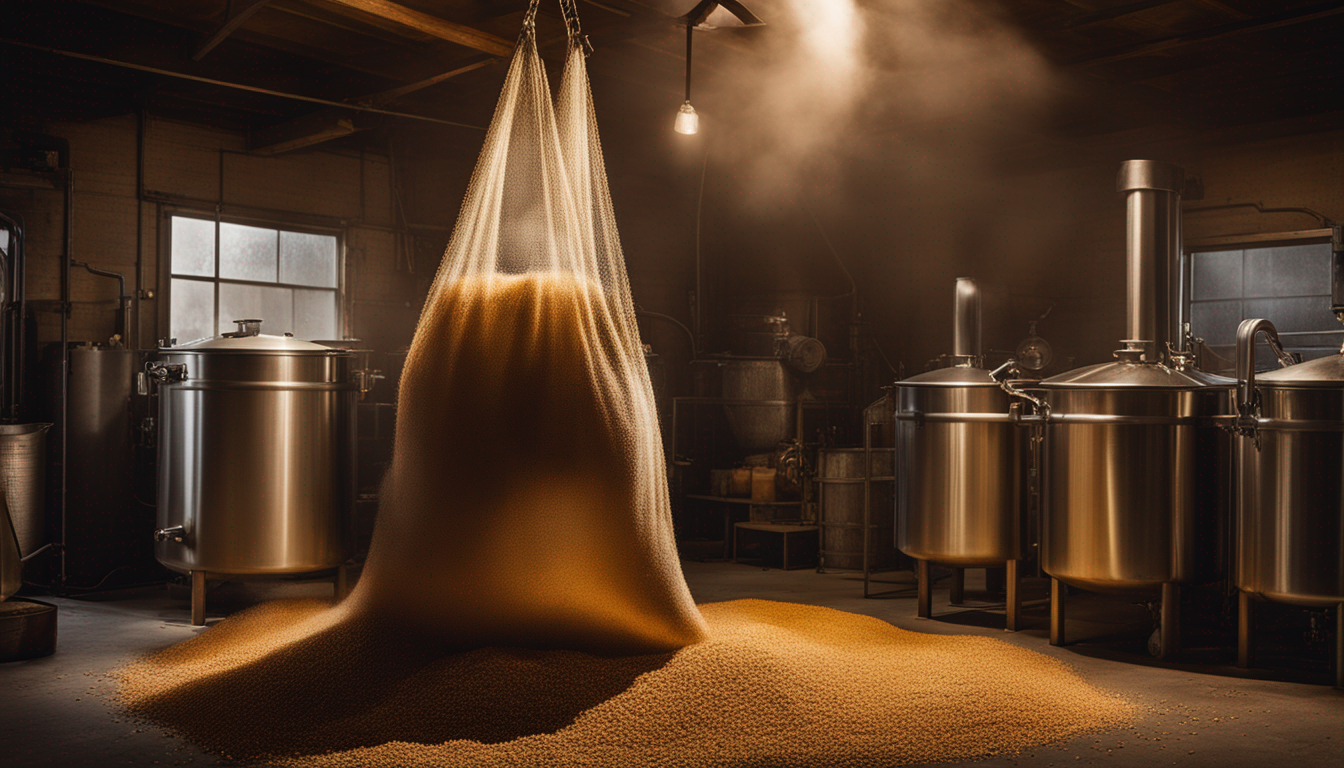
- Sanitize everything that touches cooled wort. Star San mixed at 1 oz per 5 gallons of water. No rinsing needed — the foam is fine. Infection ruins more first batches than any bad recipe.
- Control fermentation temperature. Aim for 64–68°F for ales. A closet, basement, or swamp cooler (tub of water with frozen bottles) works. Hot fermentation produces fusel alcohols that taste like jet fuel.
- Take gravity readings. You need an original gravity (OG) reading before pitching yeast and a final gravity (FG) reading before bottling. A basic hydrometer costs $8 and tells you everything about your beer's progress. Use our brewing calculators to check your numbers.
Recipe 1: American Wheat Ale
This is the training-wheels beer. Wheat ales are ridiculously forgiving — the style is supposed to be hazy, so even if your process is rough, the cloudiness looks intentional. The wheat malt extract gives the beer body and a soft, bready character that masks minor flaws. I've watched brand-new brewers nail this recipe on their literal first attempt.
Target Stats
- OG: 1.042–1.046
- FG: 1.010–1.012
- ABV: 4.2–4.7%
- IBU: 15–18
- SRM: 3–4 (pale straw)
Ingredients (5-gallon batch)
- 3.3 lbs wheat liquid malt extract (LME) — Briess Bavarian Wheat works great (~$16)
- 3 lbs light dry malt extract (DME) (~$14)
- 0.5 lb Carapils/Dextrine malt (steeping grain for head retention) (~$2)
- 1 oz Cascade hops (60 min — bittering) (~$2)
- 0.5 oz Cascade hops (5 min — aroma) (~$1)
- 1 packet Safale US-05 dry yeast (~$5) — the most reliable, neutral ale yeast on the planet
- 5 oz priming sugar (corn sugar) for bottling
Estimated ingredient cost: $40–45 for 5 gallons (about 48 bottles at ~$0.85 each).
Brew Day Steps
- Steep the Carapils. Place the crushed Carapils in a muslin grain bag. Heat 2.5 gallons of water to 155°F and steep the grain bag for 20 minutes. Don't squeeze the bag when you pull it out — just let it drip.
- Remove the grain bag and bring to a boil. Once the water hits a rolling boil, kill the heat and stir in the wheat LME and light DME. Stir until completely dissolved — undissolved extract sitting on the bottom will scorch.
- Return to a boil and add bittering hops. Add 1 oz Cascade hops and start your 60-minute timer. Watch for boil-overs in the first 5 minutes — keep a spray bottle of cold water handy.
- Add aroma hops at 5 minutes remaining. Drop in 0.5 oz Cascade.
- Flame out and chill. Cool the wort to 65–70°F as quickly as possible. An immersion wort chiller ($40) is ideal, but an ice bath in the sink works. Speed matters here — the faster you cool, the clearer your beer and the lower the infection risk.
- Transfer to fermenter and top up to 5 gallons. Pour the cooled wort into a sanitized fermenter, add cold water to reach 5 gallons, and aerate by rocking the fermenter for 2 minutes.
- Take OG reading and pitch yeast. Sprinkle the entire packet of US-05 on top of the wort. Seal with airlock.
Fermentation & Bottling
- Primary fermentation: 10–14 days at 64–68°F. You'll see activity in the airlock within 24 hours. Don't panic if it's vigorous — wheat beers generate enthusiastic fermentation.
- Check FG: Take a gravity reading at day 10 and again at day 12. If it's stable at 1.010–1.012, you're ready to bottle.
- Bottle: Dissolve 5 oz corn sugar in 2 cups of boiling water, cool slightly, add to bottling bucket, rack beer on top. Fill and cap 48 bottles.
- Condition: 2 weeks at room temperature (70°F) for carbonation. Chill and enjoy.
Tips for This Recipe
This beer benefits from being drunk fresh — within 6 weeks of bottling. The delicate wheat character fades over time. If you want to experiment, try adding 1 oz of Citra or Amarillo at flameout instead of the Cascade aroma addition for a more tropical twist. Orange peel (1 oz dried, added at 5 minutes) also works beautifully.
Recipe 2: English Bitter (ESB)
Once you've proven you can make clean beer with the wheat ale, the English Bitter introduces two critical skills: hop timing (how 60-minute, 15-minute, and 5-minute additions create different flavor contributions) and the concept of malt-hop balance. This is a pub session beer — low alcohol, biscuity malt, earthy hops, endlessly drinkable. Think Timothy Taylor's Landlord or Fuller's ESB.
Target Stats
- OG: 1.048–1.054
- FG: 1.012–1.014
- ABV: 4.7–5.2%
- IBU: 30–38
- SRM: 10–14 (amber to copper)
Ingredients (5-gallon batch)
- 6 lbs light dry malt extract (DME) (~$25)
- 0.75 lb Crystal 60L malt (steeping grain — adds caramel and body) (~$2)
- 0.25 lb Victory malt (steeping grain — biscuity, toasty character) (~$1.50)
- 1 oz East Kent Goldings hops (60 min — bittering) (~$2.50)
- 0.75 oz Fuggles hops (15 min — flavor) (~$2)
- 0.5 oz East Kent Goldings hops (5 min — aroma) (~$2.50)
- 1 packet Safale S-04 dry yeast (~$5) — classic English ale yeast, slightly fruity, flocculates like a champ
- 5 oz priming sugar for bottling (or reduce to 3.5 oz for lower, more traditional carbonation)
Estimated ingredient cost: $40–48 for 5 gallons.
Brew Day Steps
- Steep specialty grains. Put the crushed Crystal 60L and Victory malt in a grain bag. Steep in 2.5 gallons of water at 150–160°F for 30 minutes. Remove bag, let drip.
- Bring to boil, remove from heat, add DME. Stir in all 6 lbs of DME thoroughly before returning to boil.
- 60-minute boil with hop schedule:
- 60 min: Add 1 oz East Kent Goldings (bittering — this provides the backbone)
- 15 min: Add 0.75 oz Fuggles (flavor — earthy, mild, quintessentially English)
- 5 min: Add 0.5 oz East Kent Goldings (aroma — floral, delicate)
- Chill to 64°F. English ale yeast performs best at lower ale temps. Shoot for 62–66°F fermentation.
- Transfer, aerate, pitch yeast. S-04 is extremely reliable. Just sprinkle it on top — no rehydration needed for dry yeast.
Fermentation & Bottling
- Primary: 12–14 days at 62–66°F. S-04 drops clear remarkably fast — you may see the beer clearing from the top down within a week.
- Cold crash (optional but recommended): If you can, move the fermenter to a fridge at 34–38°F for 48 hours before bottling. This drops remaining yeast and protein for a brilliantly clear pint.
- Target FG: 1.012–1.014. If you're higher, give it more time.
- Bottle with 3.5–5 oz priming sugar. Traditional English bitters have lower carbonation (1.5–2.0 volumes CO2) than American styles. Use 3.5 oz for pub-style, 5 oz for American carbonation.
- Condition: 2–3 weeks at room temp. This beer gets better after a month in the bottle.
Tips for This Recipe
If your tap water is very soft (low mineral content), adding 1 teaspoon of gypsum (calcium sulfate) to your brewing water enhances hop character and mimics the water profile of Burton-on-Trent, the birthplace of English pale ales. Don't go overboard — 1 teaspoon for the full batch. This small tweak teaches you the basics of water chemistry without requiring a full mineral adjustment. For more on how water affects your beer, check our homebrewing hub.
Recipe 3: Chocolate Milk Stout
This is the recipe that makes non-beer-drinkers say "wait, you brewed this?" A chocolate milk stout combines the roasty complexity of dark specialty malts with the sweetness and body of lactose (milk sugar) and the richness of cocoa. It looks sophisticated, tastes incredible, and teaches you how to work with specialty grains, unfermentable sugars, and cocoa additions. People will ask you to brew it again. Guaranteed.
Target Stats
- OG: 1.058–1.064
- FG: 1.018–1.022 (higher FG due to lactose)
- ABV: 5.0–5.5%
- IBU: 25–30
- SRM: 35–40+ (black)
Ingredients (5-gallon batch)
- 6 lbs dark dry malt extract (DME) (~$25)
- 0.75 lb Chocolate malt (steeping grain — smooth cocoa and coffee character) (~$2)
- 0.5 lb Roasted barley (steeping grain — dry roast, coffee-like bitterness) (~$2)
- 0.5 lb Crystal 80L malt (steeping grain — dark caramel, raisin) (~$2)
- 0.25 lb Black Patent malt (steeping grain — color and sharpness, use sparingly) (~$1.50)
- 1 lb lactose (milk sugar — unfermentable, adds sweetness and body) (~$6)
- 4 oz unsweetened cocoa powder (Hershey's Special Dark or Ghirardelli) (~$4)
- 1 oz Northern Brewer hops (60 min — bittering) (~$2)
- 0.5 oz Willamette hops (15 min — mild flavor, blends into the background) (~$1.50)
- 1 packet Safale S-04 dry yeast (~$5)
- 5 oz priming sugar for bottling
Estimated ingredient cost: $52–58 for 5 gallons. The cocoa and lactose add a few dollars, but this beer would cost $8–12 per pint at a craft brewery.
Brew Day Steps
- Steep all four specialty grains. Combine Chocolate malt, Roasted barley, Crystal 80L, and Black Patent in a grain bag. Steep in 2.5 gallons at 150–160°F for 30 minutes. The water will turn almost black — that's exactly what you want.
- Remove grain bag, bring to boil, add DME. Kill the heat first, stir in the dark DME completely.
- Add lactose at 15 minutes. Lactose needs to be boiled for sanitation. Add it at the 15-minute mark along with the Willamette hops — it dissolves quickly.
- Add cocoa powder at 5 minutes. Whisk 4 oz cocoa powder into a small amount of hot wort to make a slurry first, then stir it into the boil. Adding powder directly creates clumps that float on top and never incorporate.
- Hop schedule:
- 60 min: 1 oz Northern Brewer
- 15 min: 0.5 oz Willamette + 1 lb lactose
- 5 min: Cocoa powder slurry
- Chill to 64°F, transfer, aerate, pitch yeast.
Fermentation & Bottling
- Primary: 14–18 days at 62–66°F. Stouts can be slow starters — don't worry if you don't see airlock activity for 36 hours. The dark wort makes it harder to see krausen, so rely on gravity readings.
- Target FG: 1.018–1.022. The lactose keeps the FG higher than you'd expect. If you're reading 1.020 and it's stable, that's perfect — the yeast is done, the remaining gravity is unfermentable lactose.
- Bottle with 5 oz priming sugar. Stouts benefit from moderate carbonation — not too fizzy, not flat.
- Condition: 3–4 weeks minimum. Stouts improve dramatically with age. At 2 weeks, the roast is sharp and the chocolate is subtle. At 6 weeks, the flavors meld and the chocolate comes forward. At 3 months, it's genuinely excellent.
Tips for This Recipe
For an extra layer of complexity, add 2 oz of cacao nibs (soaked in 2 oz of vodka for 48 hours to sanitize) directly into the fermenter after primary fermentation slows — around day 7. Leave them in for 5–7 days. This adds a deeper, more authentic chocolate character than cocoa powder alone. The vodka tincture also keeps the nibs from introducing wild yeast. If you want to skip the lactose (for dietary reasons or preference), substitute with 0.5 lb of maltodextrin — it adds body without sweetness.
Common Mistakes to Avoid
- Not sanitizing enough. I'm repeating this because it's the number-one killer of first batches. Everything that contacts the beer after the boil must be sanitized. Hands, spoons, thermometers, tubing, bottles, caps — everything.
- Fermenting too warm. If your house is 75°F, your fermenting beer is 78–80°F (fermentation generates heat). That means off-flavors. Find the coolest spot in your home or use a swamp cooler.
- Opening the fermenter to check on it. Leave it alone. Every time you open the lid, you risk contamination and oxygen exposure. Set it, forget it, check gravity at day 10.
- Bottling too early. If your gravity hasn't stabilized (two identical readings 48 hours apart), you're not done. Bottling an unfinished beer creates bottle bombs — literally. Take the reading, wait two days, take another. Only when they match should you bottle.
- Skipping the cold crash. It's optional but makes a visible difference, especially on the wheat ale and bitter. Even 24 hours at fridge temp helps clarity enormously.
What to Brew First
Start with the American Wheat Ale. Seriously. It's the most forgiving recipe of the three and teaches you the entire brewing workflow without any complex additions. Once you've bottled that batch and tasted the results, move on to the English Bitter for hop timing practice. Save the Chocolate Milk Stout for batch three — by then you'll have the confidence to manage multiple specialty grain steeping, lactose additions, and cocoa incorporation without feeling overwhelmed.
And here's the honest truth about homebrewing: batch one is about learning the process. Batch two is about refining it. Batch three is where you start making genuinely impressive beer. These three recipes are designed to take you through that exact arc. For more recipes, troubleshooting, and deep dives into technique, explore our homebrewing hub.